Cover
Playdate is not the most common console, but it’s small, cool and awesome! I got mine without the official shell, and it’s very expensive to import to Sweden from USA, so I printed my own cover instead!
I want to note that I did not make these stl-files myself, I just found them on the internet.
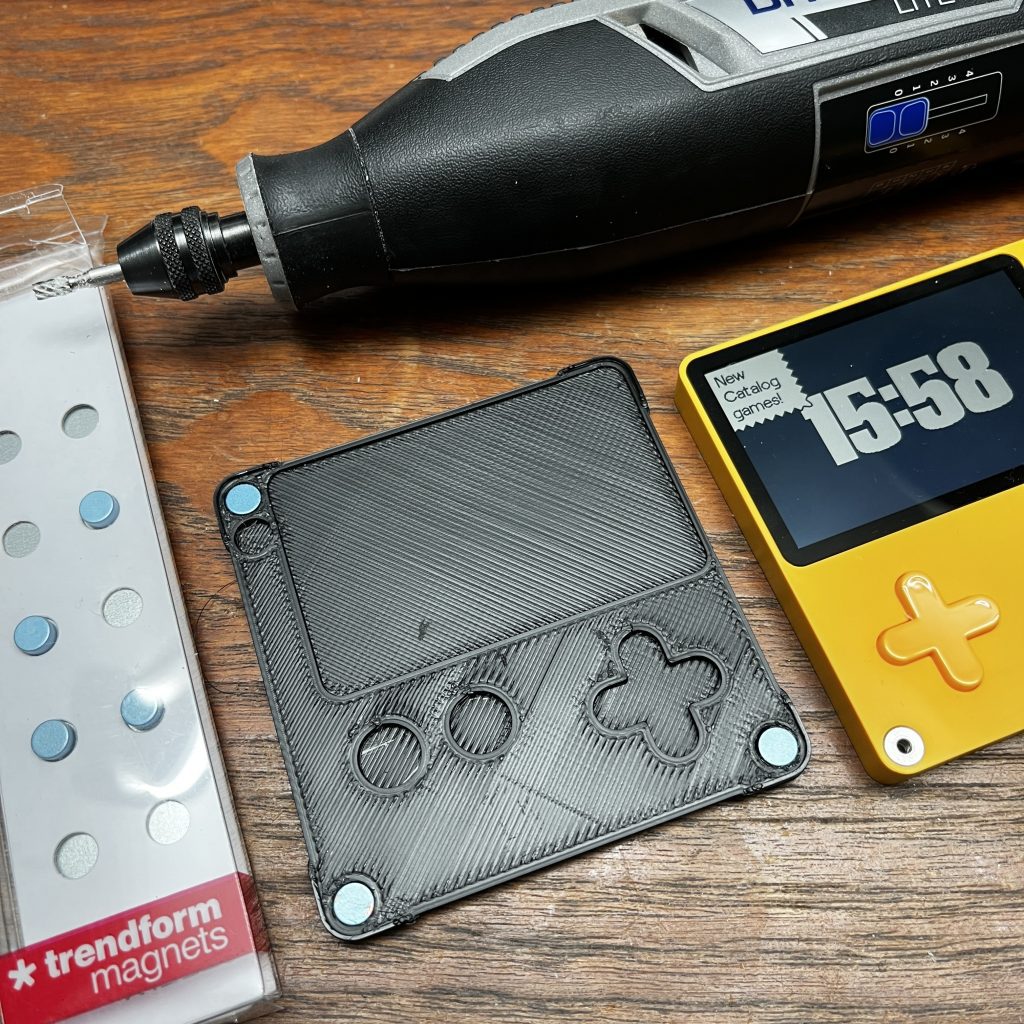
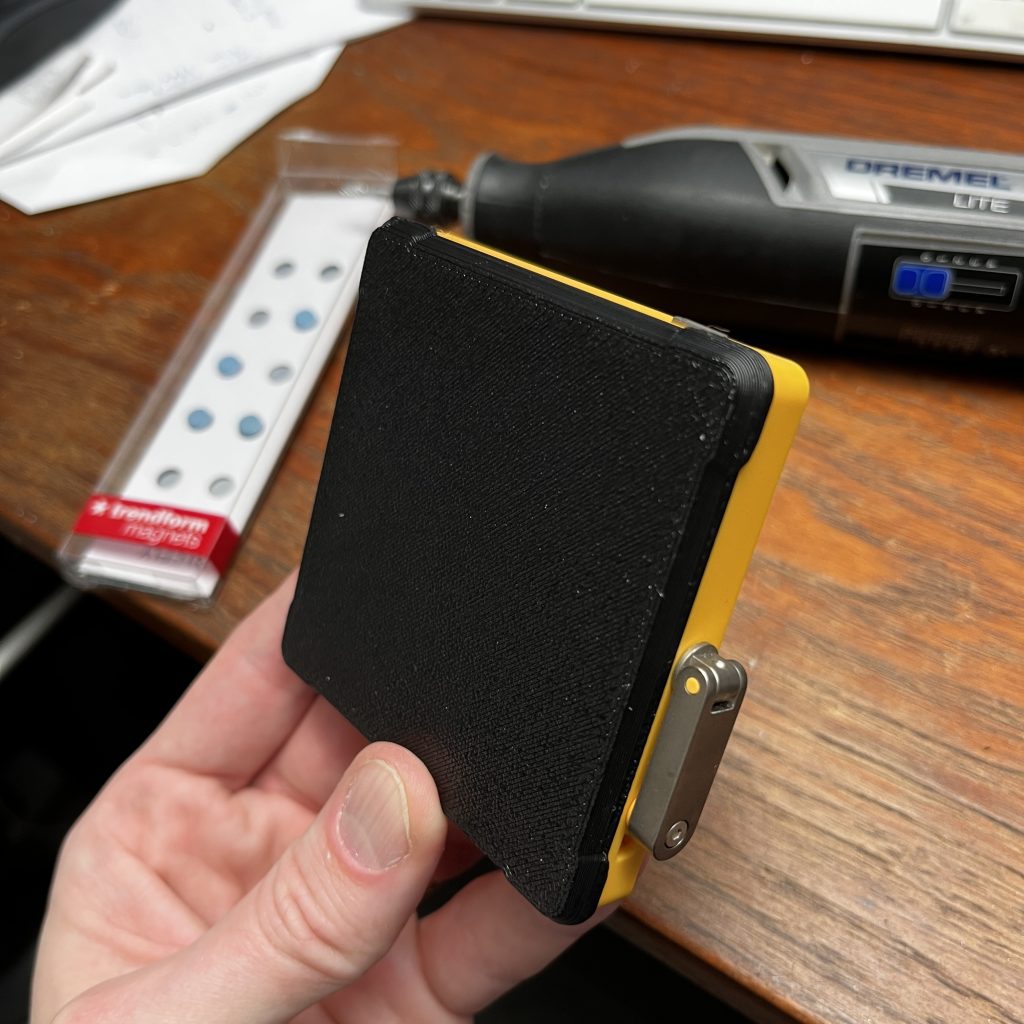
First up – this cover fits perfectly and it both protects the screen when I have it in my pocket and it also makes the Playdate a bit more comfortable to play on. I just had to go out and buy some 6x3mm magnets and then print it. STL-files for printing + instructions can be found here:
https://www.printables.com/model/879694-playdate-magnetic-cover-low-profile
Can really recommend it! Thanks TheMeanCanEHdian!
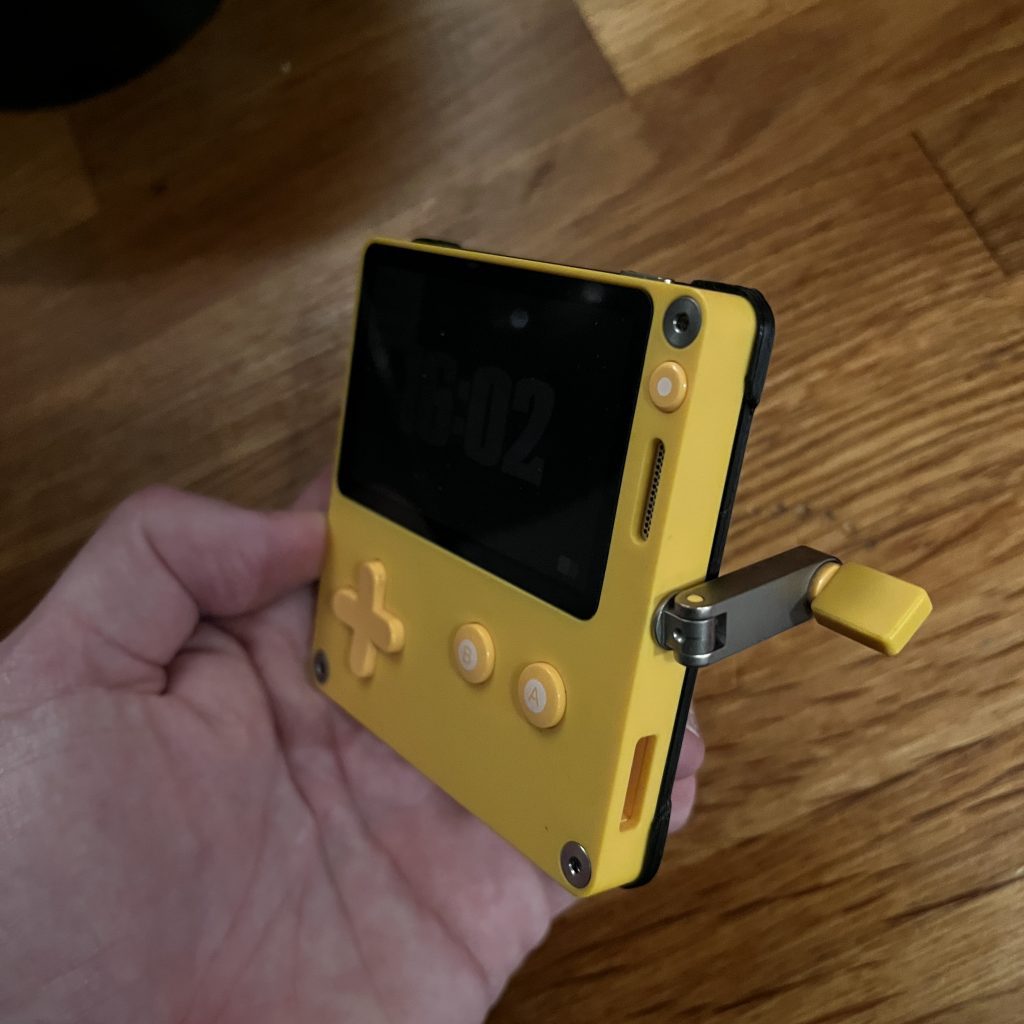
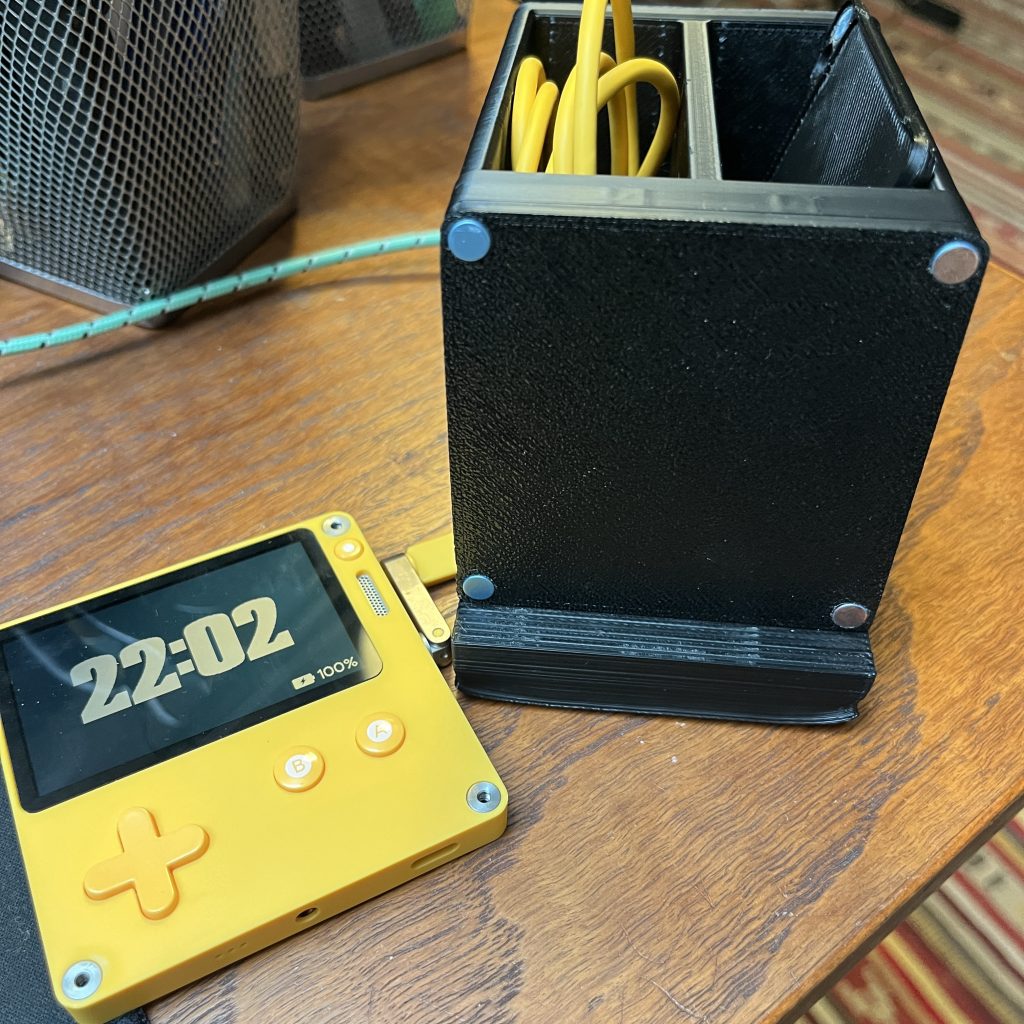
Charging stand
I was a bit sceptical when I first saw this print – can you really charge your Playdate without using a USB-C-cable? Turns out you can! Check out this print:
https://makerworld.com/en/models/966833-playdate-magnetic-charging-dock-organizer#profileId-937625
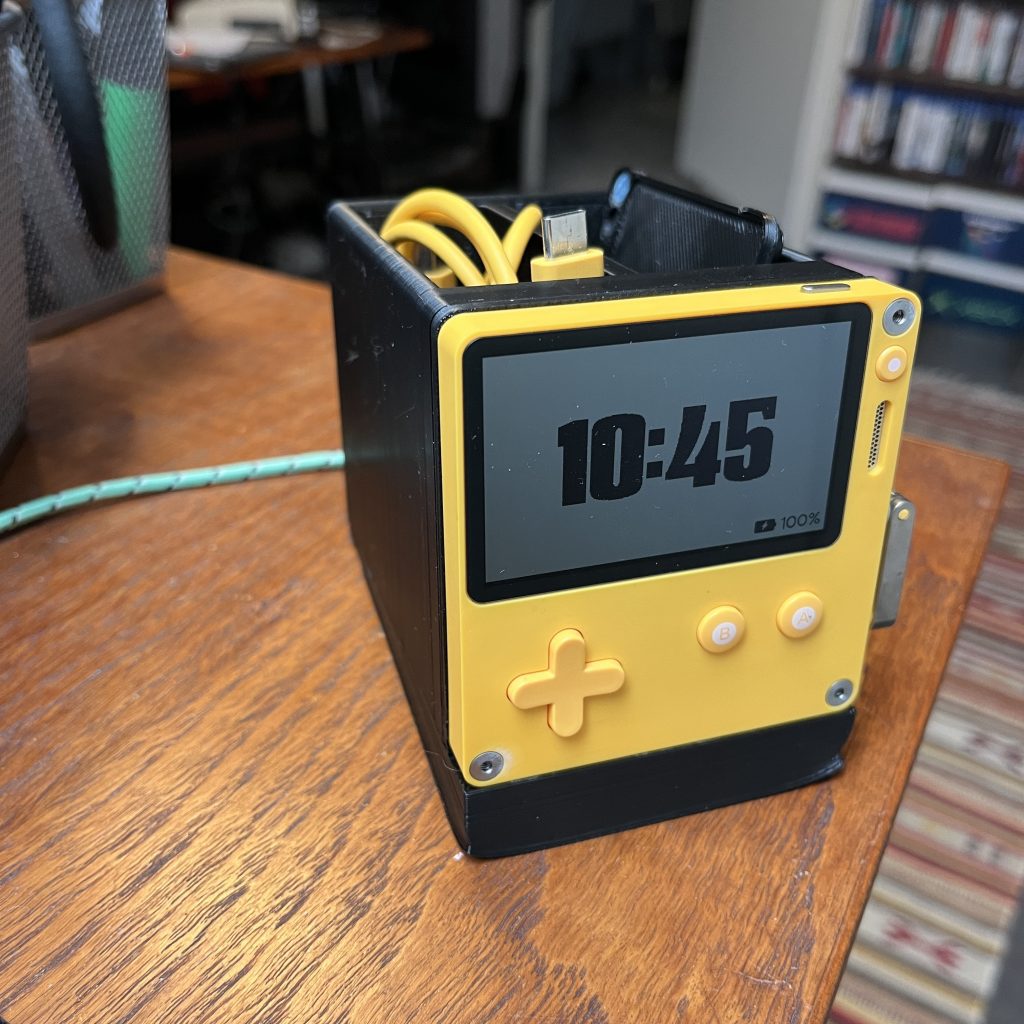
It was perfect for my needs. It keeps my Playdate loaded, I can use it as a desktop clock next to my computer and it has slots to store the cover and the USB-cable while you load it.
It was really easy to print and assemble as well. Some notes about it though, that I think other people has also noted in the comment section of the print:
- If you have bought colored magnets (like I had) scrape off the color first, so you get clear contact with your console.
- Squishing the cables to the magnets is probably better than soldering it to the magnets, if you’re not very fast. I did actually solder mine, and I thought I was pretty quick but I do notice now that the soldered magnets are not as magnetic as the unsoldered magnets (still works fine though).
- I first used a cut off USB-cord, but I then realized that I don’t always want the stand plugged in – sometimes I just want it as a stand. So I later took a female USB-mini connector from a broken old USB-harddrive and put that on the back of the stand instead. It was a perfect fit!